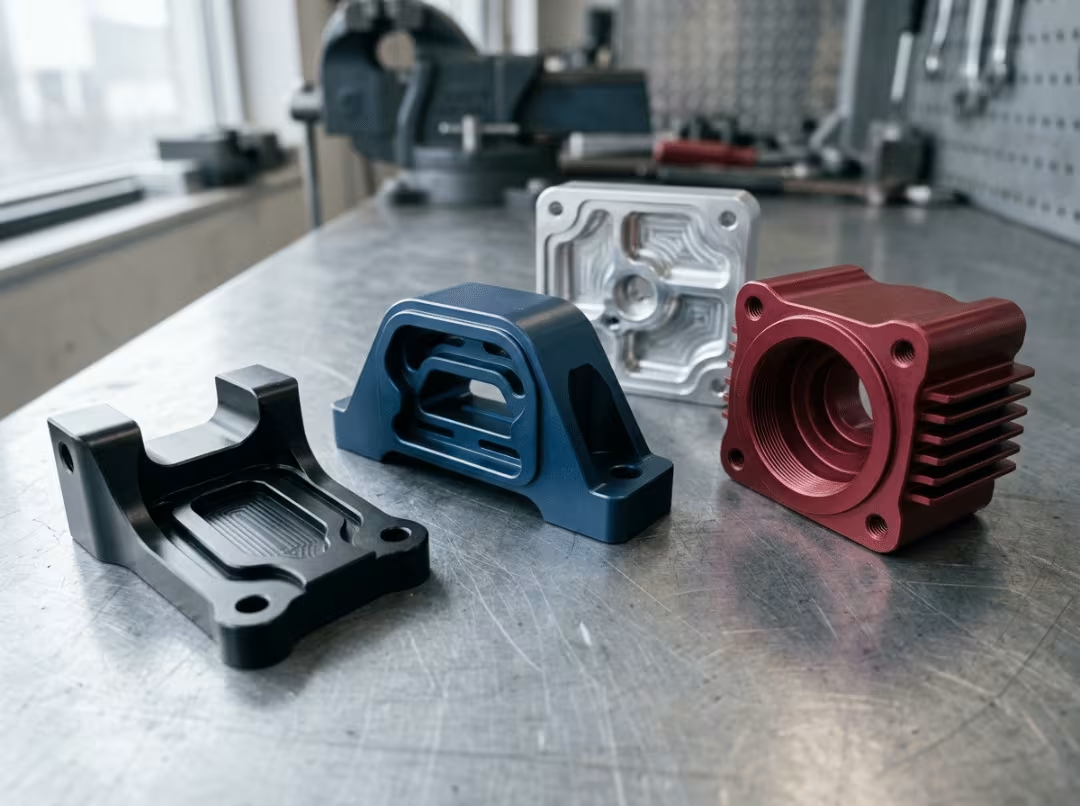
Anodizing is an electrochemical process that grows a hard, corrosion-resistant oxide layer directly out of a metal’s surface, most often aluminum. It’s one of the most common finishes we apply to machined parts, and one of the most misunderstood.
The finish itself is the straightforward part. The decisions around it are where projects go wrong. Pick the wrong type and a functional part comes out looking off, or a cosmetic part wears through too soon. Skip the tolerance planning and a shaft that fit perfectly off the lathe suddenly won’t drop into its bore. Send two parts in different alloys expecting a match, and they won’t match.
This guide covers how anodizing works, which metals and alloys take it well, the three main types and how to choose between them, how it changes dimensions, and why color matching is harder than most people expect. By the end you’ll know whether to anodize a part, which type to specify, and what to plan for before the part reaches the tank.
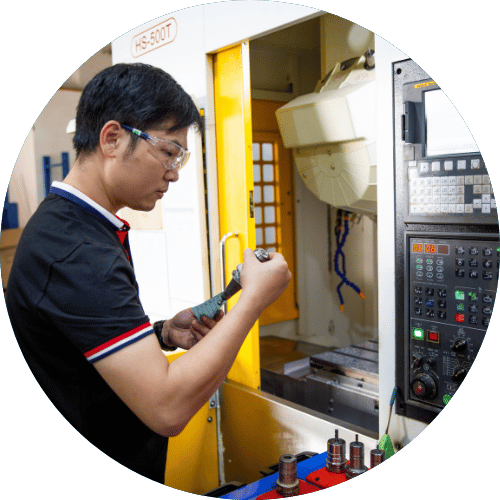
We machine and finish aluminum and titanium parts every week, so most of what follows comes from what actually shows up on the shop floor.
What Is Anodizing?
Anodizing is a surface treatment that converts a metal’s outer layer into a durable, integral oxide through controlled electrolysis. The part becomes the anode in an acid bath, an electric current drives oxygen to react with the metal surface, and an oxide layer builds up that is part of the metal itself.
That last point is where most confusion starts. Anodizing doesn’t add a coating onto the metal the way paint or plating does. It grows the oxide out of the metal. Because the layer is integral, it can’t chip or flake off the way a sprayed coating can. Part of the oxide grows outward from the original surface, and part grows inward into the base metal — which is exactly why anodizing changes dimensions, a point we’ll return to.
On aluminum parts, the result is a hard aluminum-oxide skin that resists corrosion and wear far better than bare metal and takes color well. Depending on the process, that layer runs anywhere from about 0.5 µm on a thin decorative finish to 100+ µm on a heavy hardcoat.
Key terms in plain language
- Anode: The part being anodized. It connects to the positive terminal and gives up electrons.
- Cathode: The negative electrode in the bath, often aluminum or lead.
- Electrolyte: The acid bath that carries current. Sulfuric acid is the most common.
- Oxide layer: The anodic film grown on the surface — the finish itself.
- Sealing: A post-anodize step that closes the pores in the oxide to lock in color and boost corrosion resistance.
- Dye: Colorant absorbed into the porous oxide before sealing.
How Anodizing Works
At its core, anodizing is controlled oxidation. Submerge the part in an acid electrolyte, make it the anode, run current through the bath, and the surface reacts with oxygen to form an oxide film. On aluminum, that film is aluminum oxide — one of the hardest oxides in common industrial use, which is where the wear resistance comes from.
The electrochemistry matters less than the sequence the part moves through. That’s where finish quality is won or lost.
The process, step by step
- Surface prep and cleaning. The part is degreased, etched, and often mechanically finished — bead-blasted, brushed, or polished — before it ever hits the bath. This step decides the final look more than any other. Anodizing is slightly translucent, so every tool mark, scratch, and fingerprint underneath telegraphs through the finished layer.
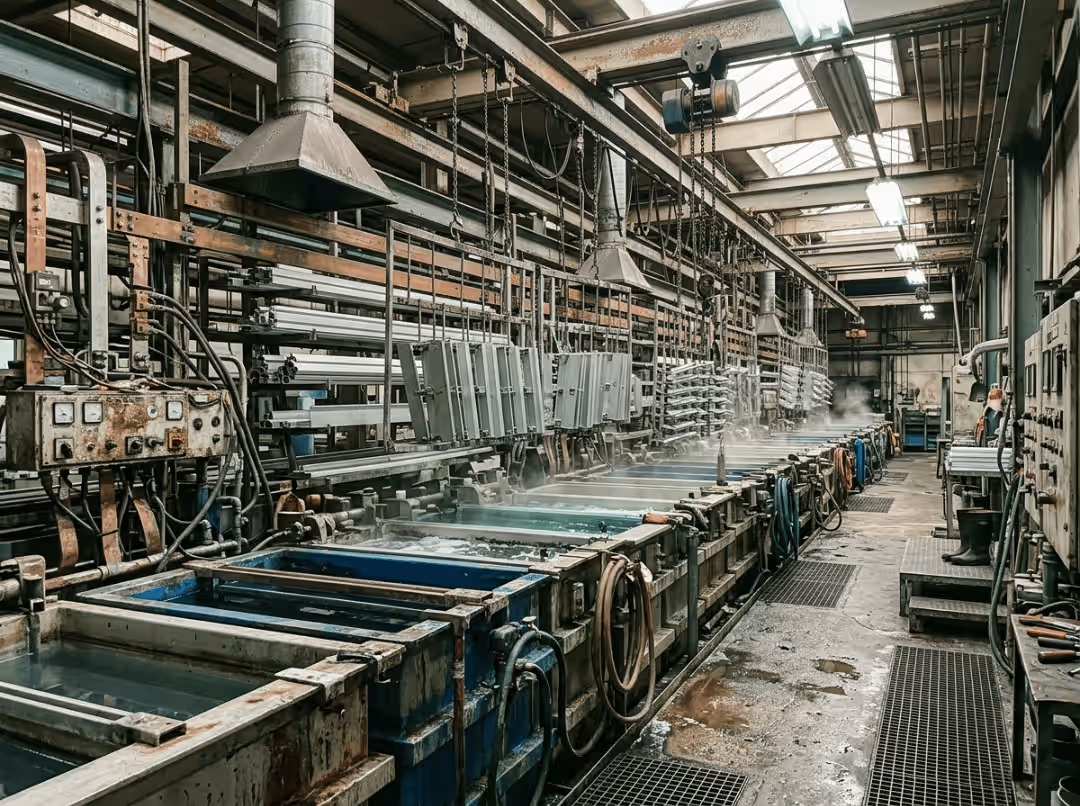
- Electrochemical bath. The part goes in as the anode, current flows, and the oxide grows. Time, current density, temperature, and acid concentration control how thick and how hard the layer gets.
- Coloring (optional). While the fresh oxide is still porous, it can absorb dye or take on color through electrolytic or integral methods. No dye step means a natural, clear finish.
- Sealing. The porous oxide is closed off to lock in color and corrosion resistance.
Why sealing matters
Fresh anodize is porous, like a microscopic sponge. That porosity is what lets it hold dye — but left open, the same pores trap dirt, moisture, and contaminants, which invites staining and corrosion over time. Sealing closes them.
There are three common approaches: cold sealing in a room-temperature nickel-fluoride bath, mid-temperature sealing in a metal-salt solution around 60–80°C, and hot sealing in near-boiling deionized water that swells the oxide shut. Hot sealing gives the densest, most durable result; cold sealing is faster and lower-energy. For most functional and cosmetic parts, sealing isn’t optional — it’s what makes the finish last.
What Metals and Alloys Anodize Well?
Not every metal anodizes, and among those that do, the alloy matters as much as the base metal. Sorting this out early saves a lot of grief, because a part’s material often decides whether anodizing is even worth considering.
Anodizing works on non-ferrous metals that form a stable, adherent oxide — chiefly aluminum, titanium, and magnesium. Steel and most ferrous metals can’t be anodized in the same sense. Their oxide is rust: loose, flaky, and non-protective, not the tight integral film aluminum forms. Steel parts get plating, black oxide, or powder coating instead.
Aluminum — and why 6061 and 7075 don’t behave the same
Aluminum is the default anodizing metal, and for good reason. It forms a clean, hard oxide, takes dye across a wide color range, and covers the large majority of anodized parts in the field.
But the alloy drives the result, and this trips up more people than any other single factor.
6061 anodizes cleanly and predictably. The finish comes out even, consistent, and attractive, which is why it’s the alloy we reach for when appearance matters. Its magnesium-silicide composition converts to a clear, uniform oxide, so colors land close to expectation.
7075 anodizes well mechanically, but it can come out slightly duller or off-tone. The higher zinc and copper content interferes with how the oxide forms and takes dye, so a 7075 part and a 6061 part run through the exact same process will not look identical. For a structural bracket where strength matters more than looks, that’s fine. For a matched cosmetic set, it’s a problem.
High-silicon casting alloys like A380 die-cast tend to anodize gray, patchy, and unpredictable, because the silicon doesn’t convert to a clear oxide. If you’re die-casting a part and expecting a bright, even anodize, that mismatch will bite you.
In practice, if a machined aluminum part needs a consistent cosmetic anodize, specify the alloy with the finish in mind. When we quote aluminum CNC machining, the intended finish is part of that conversation, because 6061 and 7075 don’t behave the same in the tank.
Titanium
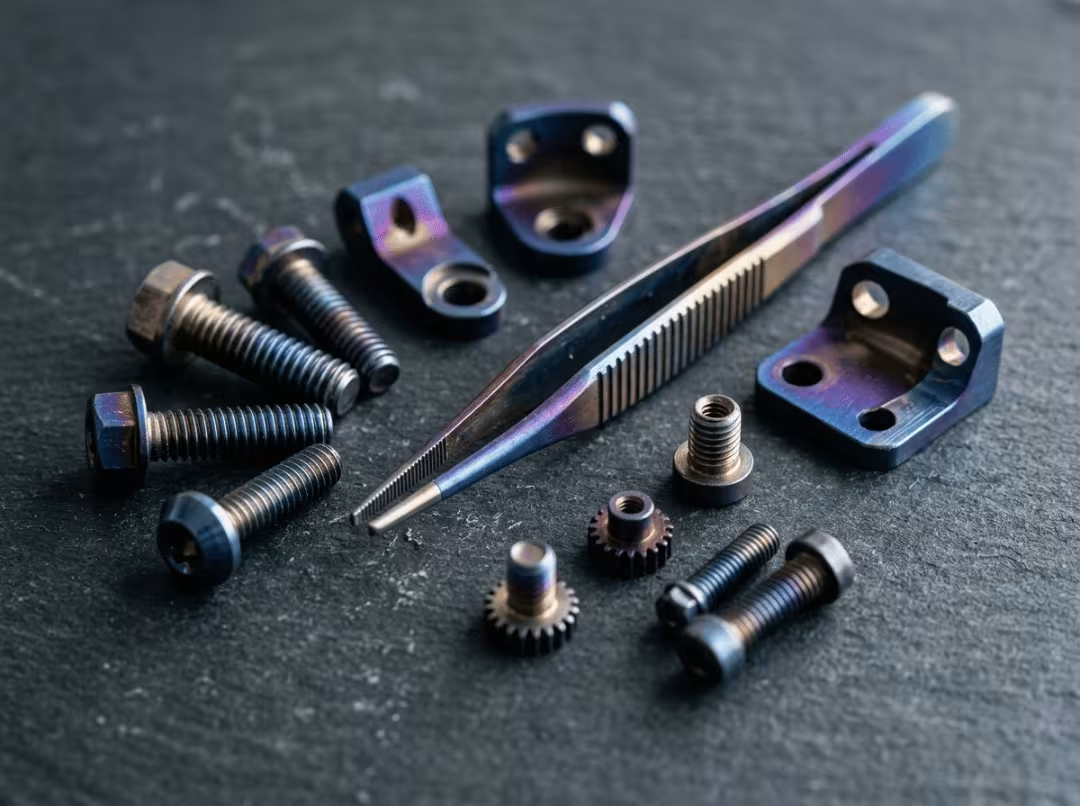
Titanium anodizes differently, and it’s worth understanding why. Instead of dye, its color comes from the oxide thickness itself. Light refracts through the thin transparent oxide and produces interference colors — the same effect you see in an oil film on water. By controlling voltage, you dial in blues, purples, golds, and greens with no dye at all. The oxide is also biocompatible, which is why anodized titanium parts are common in medical implants and surgical instruments, alongside aerospace fasteners.
Magnesium and other non-ferrous metals
Magnesium can be anodized, but it’s usually done as a protective base or paint primer rather than a decorative finish. The oxide improves corrosion resistance and coating adhesion, though magnesium needs tighter process control. Zinc and a few other non-ferrous metals accept anodizing-type treatments too, but aluminum and titanium cover nearly all real-world work.
Types of Anodizing: Type I, Type II, and Type III
Anodizing is classified by the acid bath and the resulting layer, standardized under MIL-A-8625. Three types cover almost everything you’ll specify — but two of them account for the vast majority of parts, so that’s where the depth belongs.
Type I — Chromic Acid Anodize
Type I uses a chromic acid bath and produces the thinnest layer, roughly 0.5–2.5 µm. Because it builds and consumes so little material, it barely affects fatigue strength — which is why it shows up on aerospace and defense parts where fatigue life is critical. The thin layer takes color poorly, so Type I is a functional choice, not a cosmetic one. It also works as a paint primer.
Type II — Sulfuric Acid Anodize
Type II is the general-purpose workhorse and the most common finish by a wide margin. A sulfuric acid bath builds a layer around 5–25 µm that resists corrosion and wear well and — critically — takes dye across nearly any color. Most anodized consumer products, enclosures, and brackets you’ve handled were Type II. It’s the default whenever a part needs both protection and appearance.
Type III — Hard Anodize
Type III, or hardcoat, also uses sulfuric acid, but a colder bath and higher voltage build a much thicker, denser layer — typically 25–50 µm and up to 100+ µm. The result is a genuinely hard, wear-resistant surface for functional parts: hydraulic components, pistons, valve bodies, sliding surfaces. The trade-off is color and cost. Hardcoat comes only in a limited range of dark tones — gray to black, sometimes bronze — and it costs more than Type II. It also changes dimensions significantly, which the next section covers.
Type II vs Type III — which should you choose?
This is the decision that trips up most buyers, so here it is side by side.
|
Factor |
Type II (sulfuric) |
Type III (hardcoat) |
|---|---|---|
|
Typical thickness |
5–25 µm |
25–100+ µm |
|
Wear resistance |
Good |
Excellent |
|
Color options |
Nearly any color |
Dark tones only (gray/black/bronze) |
|
Dimensional impact |
Small |
Significant — must plan for it |
|
Relative cost |
Lower |
Higher |
|
Best for |
Cosmetic + general protection |
Functional wear surfaces |
Choose Type II when appearance matters, you need a specific or bright color, and the part sees normal service — enclosures, brackets, trim, consumer housings, most visible aluminum.
Choose Type III when the part has to survive wear, abrasion, or hard use, and dark coloring is acceptable — pistons, valve components, guide rails, and anything with a sliding or load-bearing surface.
A common mistake is defaulting to hardcoat because “harder is better.” For a cosmetic bracket that never sees wear, Type III just adds cost, removes your color options, and complicates your tolerances for no real gain. Match the type to the job, not to the spec sheet with the biggest numbers.
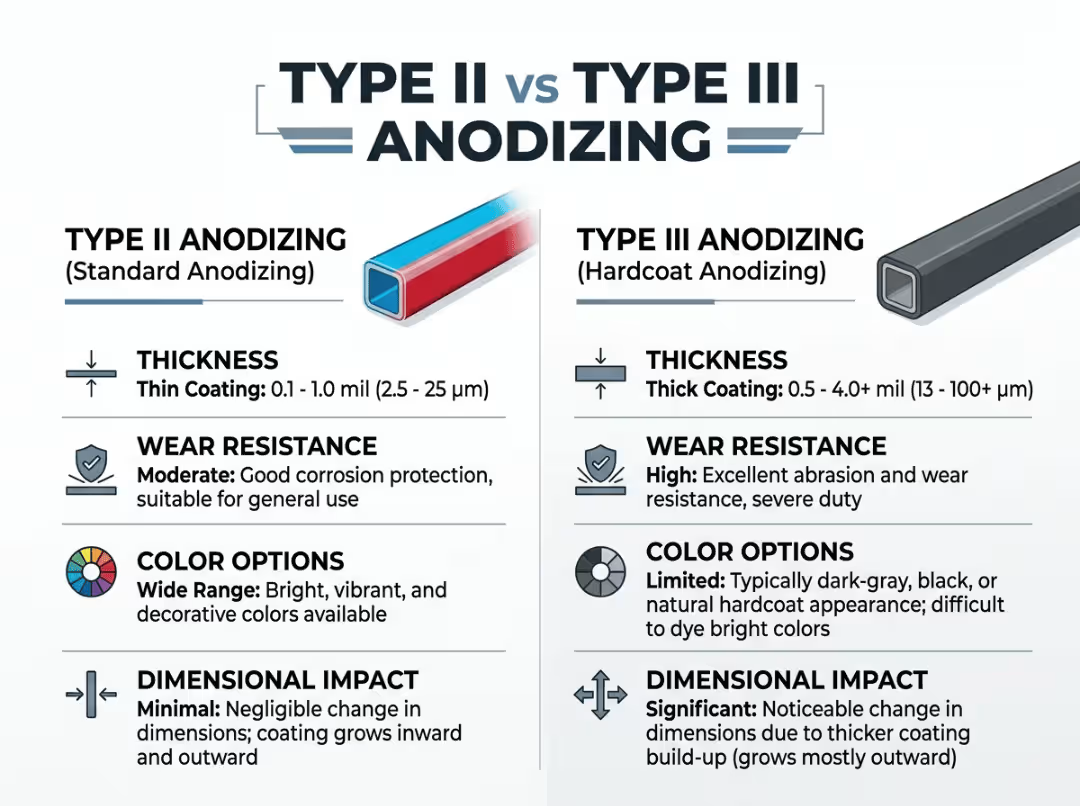
Does Anodizing Add Thickness or Change Dimensions?
Yes — and this is where machined parts get into trouble when nobody plans for it.
Anodizing grows in two directions at once. Roughly half the oxide builds outward from the original surface, and half grows inward, consuming base metal. So a surface doesn’t simply get a coating laid on top; the whole dimension shifts. On an external feature like a shaft, the diameter grows by close to the total oxide thickness, since both sides add up. On an internal feature like a bore, the opening shrinks by the same logic.
How much depends on the type:
- Type II: small but real — often a few microns per surface. Usually negligible for loose fits, but it matters on tight tolerances.
- Type III: significant — up to 25–50 µm per surface. On a diameter that’s easily 0.05–0.1 mm of total growth, enough to seize a press fit or bind a sliding surface.
Planning tolerances before you anodize
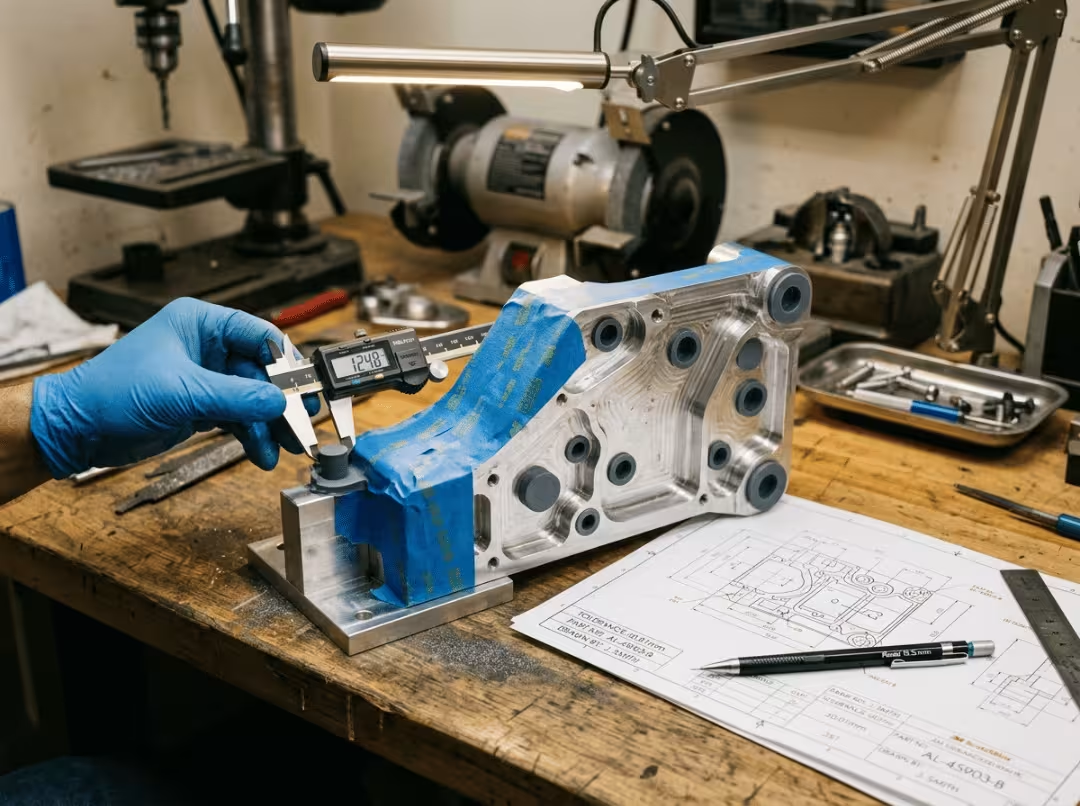
The fix is simple once you know to apply it: account for the growth in the machined dimension. Cut a Type III shaft slightly undersize so it lands on target after anodizing. Open a bore slightly so it closes into spec. And for any feature that must stay bare — threaded holes, dowel locations, electrical grounding points, precision mating surfaces — mask it so no oxide grows there at all.
This is why the finish should be decided before machining, not after. When a part has a precision bore or shaft that must fit an assembly post-anodize, we build that allowance into the CNC turning operation up front. The limiting factor is often a single tight-tolerance feature, and it’s far cheaper to plan for oxide growth on the drawing than to strip and re-run parts that came back out of spec.
Anodized Colors and Finish Options
Color is where anodizing sells itself, and also where expectations most often run ahead of reality.
How color is applied
There are three routes to color:
- Dyeing: The porous oxide is dipped in a dye bath before sealing. This gives the widest color range — reds, blues, greens, blacks, golds — and is how most colored aluminum is done.
- Electrolytic coloring: Metal salts are deposited into the pores electrochemically, producing very durable, fade-resistant colors, usually in the bronze-to-black family. Common on architectural parts that live outdoors.
- Integral coloring: Color is built into the oxide as it forms, giving deep, stable tones — typically the dark shades you see on hardcoat.
Why color consistency is harder than it looks
Two “black” parts don’t always come out matching, and it’s rarely the finisher’s fault. Alloy is the biggest variable. Run a 6061 part and a 7075 part in the same bath, same dye, same immersion time, and they land on different shades because the base metal changes how the oxide forms and absorbs dye. Layer thickness shifts color too — a thicker oxide reads darker. And batch-to-batch variation in dye age, bath temperature, and timing adds its own drift.
For most machined parts, the practical rule is this: if pieces in an assembly must match, run them in the same alloy, ideally the same batch, and set realistic cosmetic tolerances. Perfect color matching across different alloys is not something anodizing can reliably deliver, no matter how tight the recipe.
Finish styles
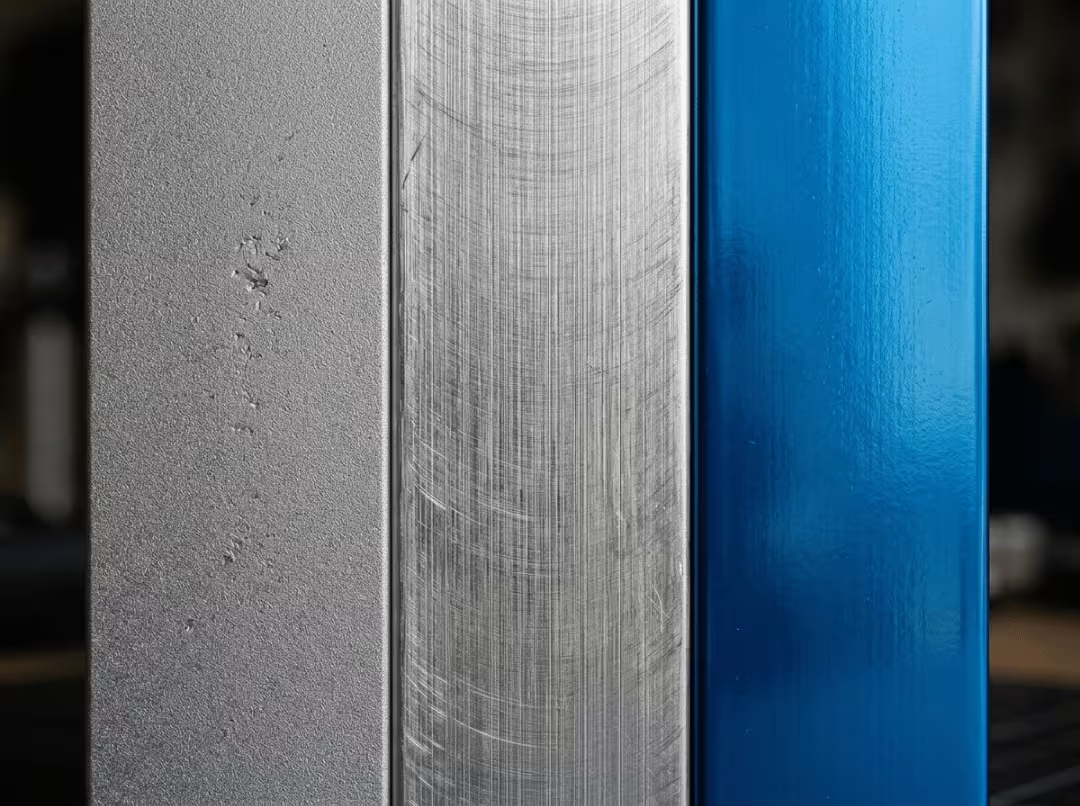
The look also depends on the pre-anodize surface. Clear anodize shows the natural metal. Matte comes from bead blasting first. Brushed leaves a directional grain. Bright requires polishing beforehand for a reflective result. The texture is set on the shop floor, before the tank — anodizing just locks in whatever the prep created.
Benefits and Limitations of Anodizing
What anodizing does well
- Corrosion resistance. The integral oxide shields the base metal from moisture, salt, and UV. Sealed anodize holds up for years outdoors.
- Wear and hardness. With Type III especially, the surface becomes genuinely hard and abrasion-resistant.
- Appearance. A wide color range and several finish textures, with color that won’t chip or peel.
- Low maintenance. No flaking, no repainting; a wipe-down keeps it clean.
- Adhesion. Because the layer is integral, it won’t delaminate the way a sprayed coating can.
What anodizing won’t do
- It doesn’t improve electrical conductivity — it insulates. This is the myth worth killing. Aluminum oxide is an electrical insulator, so an anodized surface won’t carry current. If a part needs a ground or contact point, that area has to be masked before anodizing. Plenty of assemblies have failed continuity checks because someone anodized a grounding surface.
- Harder isn’t always better. Type III adds cost, limits color, and eats into tolerances. On a part that never wears, it’s the wrong call.
- Results are alloy-dependent. Some casting alloys simply won’t give a clean cosmetic finish, regardless of process control.
- Color range is limited on hardcoat. If you need bright color and heavy wear resistance at the same time, anodizing can’t fully deliver both.
Common Anodizing Mistakes and Design Tips
Most anodizing problems are baked in long before the part reaches the finisher. Here’s what actually goes wrong and how to design around it.
Surface prep decides the final look
Anodize is slightly translucent, so it hides nothing. Tool marks, scratches, stains, even handling smudges show straight through the finished layer. A part that needs a clean cosmetic anodize needs a clean, uniform surface first — which comes down to good machining and careful handling before finishing.
Break sharp edges
Oxide grows thin and uneven on sharp corners, and current concentrates there during hardcoat, sometimes causing burning or burn-off. Break sharp edges with a small radius, 0.5 mm or more where the design allows. Rounded edges take a more uniform, durable layer.
Mask threads, bores, and electrical contacts
Anything that must stay dimensionally precise or electrically conductive needs masking. Threaded holes can bind if oxide builds inside them, especially with hardcoat. Grounding points and contact surfaces have to stay bare metal. Precision bores and dowel holes should be masked or machined to allow for growth. Plan for rack marks too — parts hang from contact points that won’t anodize, so put those contacts where a small blemish won’t matter.
Don’t mix alloys across a matched assembly
Parts made from different alloys won’t color-match even with an identical recipe. If a housing and its cover need to look the same, machine them from the same alloy. Pairing a 6061 part with a 7075 part and expecting a seamless match is a setup for disappointment.
A pre-anodizing checklist
Before parts go out, confirm:
- Alloy chosen with the finish in mind — 6061 for a clean cosmetic anodize.
- Anodizing type specified (I, II, or III) along with the color.
- Critical dimensions adjusted for oxide growth, especially on Type III.
- Threads, bores, grounding points, and mating surfaces flagged for masking.
- Sharp edges broken with a small radius.
- Machined surface finish specified for cosmetic faces.
- Matched parts run in the same alloy and batch.
Getting this right starts at the machine. When we run a job destined for anodizing, prep and machined-feature planning happen during CNC milling with the finish already accounted for — so masking zones, edge breaks, and growth allowances are built in from the start rather than discovered after the parts come back.
Anodizing vs. Powder Coating vs. Electroplating
These three get compared constantly because they solve overlapping problems. Here they are together.
|
Factor |
Anodizing |
Powder Coating |
Electroplating |
|---|---|---|---|
|
Process |
Oxide grown from the metal |
Charged powder sprayed on, then heat-cured |
Metal layer electro-deposited onto the surface |
|
Layer |
Integral to the metal |
Coating on top |
Coating on top |
|
Thickness |
~0.5–100 µm |
~60–120 µm |
~2–500 µm |
|
Durability |
Excellent, won’t chip or peel |
Good, but can chip |
Varies, can chip or wear |
|
Corrosion resistance |
Excellent |
Good |
Good to excellent |
|
Color range |
Wide (Type II); limited (Type III) |
Very wide, any texture |
Tied to the plating metal |
|
Conductivity |
Insulates |
Insulates |
Conductive |
|
Material fit |
Aluminum, titanium |
Most metals |
Most metals |
Choose anodizing when the part is aluminum or titanium, you want a hard integral finish that won’t peel, and you need corrosion resistance with good color. For most machined aluminum parts, this is the default.
Choose powder coating when you need a thick, tough, high-color finish on steel or mixed metals, or a texture anodizing can’t produce.
Choose electroplating when you need surface conductivity, a specific metallic look, or you have to protect a metal that can’t be anodized — like adding a corrosion or wear layer to steel.
For machined aluminum specifically, anodizing is usually the strongest match: integral, hard, corrosion-resistant, and colorable, without the chip risk of a surface coating.
Applications of Anodized Parts by Industry
|
Industry |
Typical parts |
Common type |
Common material |
|---|---|---|---|
|
Automotive |
Trim, housings, engine covers, pistons |
Type II, III |
Aluminum |
|
Aerospace |
Fasteners, brackets, structural parts |
Type I, II |
Aluminum, titanium |
|
Medical |
Implants, surgical instruments, handles |
Type II (Ti), III |
Titanium, aluminum |
|
Electronics |
Enclosures, heat sinks, device bodies |
Type II |
Aluminum |
|
Consumer goods |
Cookware, hardware, fixtures |
Type II |
Aluminum |
|
Industrial |
Hydraulic parts, valves, guide rails |
Type III |
Aluminum |
The pattern holds across the board: cosmetic and general-purpose parts lean on Type II, functional wear surfaces go to Type III, and fatigue-sensitive aerospace parts use Type I. Titanium shows up wherever biocompatibility or dye-free color earns its place.
How to Get Anodizing-Ready Parts
A good anodize starts long before the tank. The finish only reveals what the machining and prep left behind, so part quality upstream sets the ceiling on how the finished part looks and fits.
That means the alloy has to suit the intended finish, the surface has to be clean and uniform, critical dimensions have to account for oxide growth, and masking zones have to be planned into the part. Get those right and anodizing does its job cleanly. Miss them and you’re chasing rework — off-color parts, seized fits, or bare spots where oxide grew that shouldn’t have.
This is where a shop that understands the finish earns its keep. Our CNC machining services fold that planning into the job: we help pick the alloy for your finish, hold the machining finish a cosmetic requirement needs, and adjust tolerances so the part lands on-spec after anodizing rather than before. Send a drawing or 3D model and we’ll flag anything that will affect the finish, then quote the part built to anodize correctly.
Frequently Asked Questions
What is the difference between Type II and Type III anodizing?
Type II (sulfuric) builds a thinner layer, around 5–25 µm, with a wide color range — the general-purpose choice for cosmetic and protective finishes. Type III (hardcoat) builds a much thicker, harder layer, 25–100+ µm, for wear resistance, but only in dark colors and at higher cost. Choose Type II for appearance, Type III for functional wear surfaces.
Does anodizing add thickness to a part?
Yes. About half the oxide grows outward and half grows inward, so external features gain close to the full layer thickness and internal features shrink by it. Type II adds only a few microns per surface, but Type III can add 25–50 µm per surface — enough to affect tight fits, so plan tolerances accordingly.
What aluminum alloy is best for anodizing?
6061 is the go-to for a clean, consistent, attractive anodize. 7075 anodizes well mechanically but can look slightly duller and off-tone, and high-silicon casting alloys tend to come out gray and patchy. When appearance matters, 6061 is the safest choice.
Will anodized colors match across different parts or alloys?
Not reliably. Alloy, oxide thickness, and batch variation all shift the final shade, so parts in different alloys won’t match even with the same dye and process. For parts that must match, run them in the same alloy and ideally the same batch.
Is anodizing better than powder coating for aluminum?
For most machined aluminum, yes — anodizing is integral to the metal, so it won’t chip or peel, and it resists corrosion and wear well. Powder coating gives thicker layers and a wider texture range but sits on top of the metal and can chip. The choice comes down to whether you value an integral finish or a thick, tough coating.
Does anodizing improve electrical conductivity?
No — it does the opposite. Aluminum oxide is an insulator, so anodized surfaces won’t conduct. If a part needs a ground or electrical contact, that area has to be masked before anodizing so it stays bare metal.
Can you anodize a CNC machined part, and what should you plan for?
Yes, and machined aluminum parts are anodized constantly. Plan for oxide growth on tight-tolerance features, mask threads and grounding points, break sharp edges, pick an alloy that suits the finish, and specify the machined surface finish. Deciding the finish before machining is what keeps the part in spec afterward.
How much does anodizing cost, and what drives the price?
Cost depends on the type (Type III runs higher than Type II), part size and quantity, color, masking complexity, and any special prep like polishing or bead blasting. Clear Type II on standard parts is inexpensive; custom colors, tight masking, and hardcoat push the price up.
Match the Finish to the Part
Anodizing is one of the best finishes available for aluminum and titanium — hard, integral, corrosion-resistant, and colorable. But it’s only as good as the decisions behind it: the right alloy, the right type, honest color expectations, and dimensions planned around oxide growth.
The takeaway is simple. Anodizing quality is set long before the tank, at the machining and prep stage. Choose the alloy for the finish, specify the type for the job, account for growth on your critical features, and the part comes out right.
If you have a part to make and finish, send us the drawing or model. We’ll tell you how the alloy and geometry will behave in the tank, plan the tolerances and masking around the finish, and quote it built to anodize correctly.