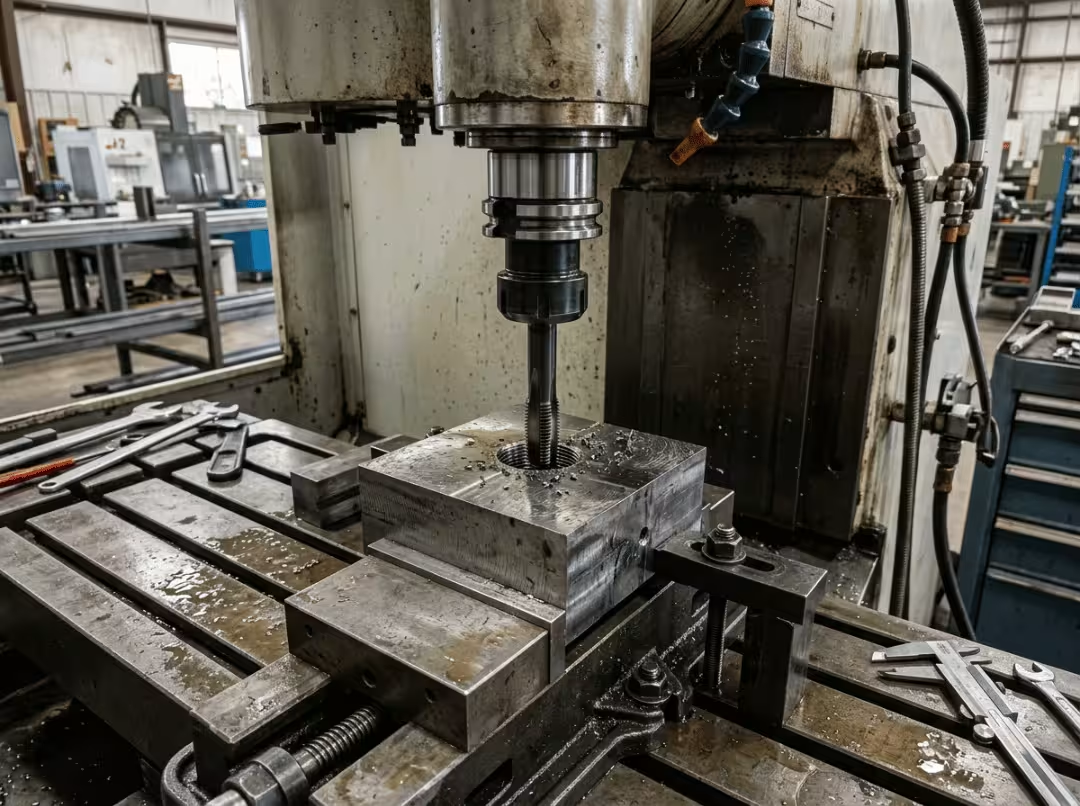
A snapped tap inside a nearly finished part is an expensive lesson. By that point, you have drilled the hole, run earlier operations, and put real machine time into the piece. The tap seizes, twists off, and now you are either drilling out hardened tool steel or scrapping the part. That failure almost never comes from a defective tap. It comes from picking the wrong one for the hole.
Most articles on this subject do not help. They list a dozen tap types with short definitions and stop there. You finish knowing that a spiral flute tap has helical flutes, without any clearer sense of which tap belongs in your hole, your material, or your production context.
This article is organized around the choice. It gives you a framework for classifying taps by the dimensions that actually drive the decision, a clear sequence for matching a tap to the hole and the workpiece, and a grounded look at the mistakes that most reliably break taps and damage threads.
What Is a Thread Tap?
A thread tap creates internal threads inside a drilled hole so a bolt or screw can engage it. Most taps do this by cutting — removing material to form the thread grooves. Some do it by forming, displacing material without producing any chips. Either way, the result is a threaded hole ready to accept a fastener.
The relationship between drill and tap matters more than it first seems. The drill makes the hole; the tap makes the threads. The hole diameter has to match the tap specification, and the wrong drill size is one of the fastest ways threading fails before the tap has even started — something we return to in the mistakes section.
Taps run by hand with a wrench or under power in a CNC machine or drill press. The method affects speed and repeatability, but it is the tap geometry — not how the tap is driven — that governs most of the decision.
How Thread Taps Are Actually Classified
Sorting taps into a single list mixes forming method, chip direction, operation type, and application-specific uses into one row. A spiral flute tap and a pipe tap are not competing alternatives — they answer completely different questions. Putting them side by side produces noise, not a selection path.
Taps are better understood across four dimensions. A real tap is a stack of choices along these dimensions: a spiral-flute cutting machine tap, for instance, reflects three separate decisions. Work through the dimensions in order and the catalog stops looking like a pile.
By Forming Method — Cutting vs Forming
This is the first fork, and it changes everything downstream. Cutting taps remove material to form the thread groove, producing chips that have to go somewhere. Forming taps — also called roll taps — displace material without cutting, making no chips at all. That single distinction reshapes the required hole size, material suitability, and the entire chip management problem.
By Chip Flow — Spiral Flute, Spiral Point, Straight Flute
For cutting taps, flute geometry determines where the chips go. Spiral flute taps pull chips back and up, out of the hole. Spiral point taps push chips forward, ahead of the cut. Straight flute taps are the general-purpose option for hand tapping. Chip direction is the second decision, and it is set directly by whether you are threading a blind or through hole.
By Operation Type — Hand vs Machine
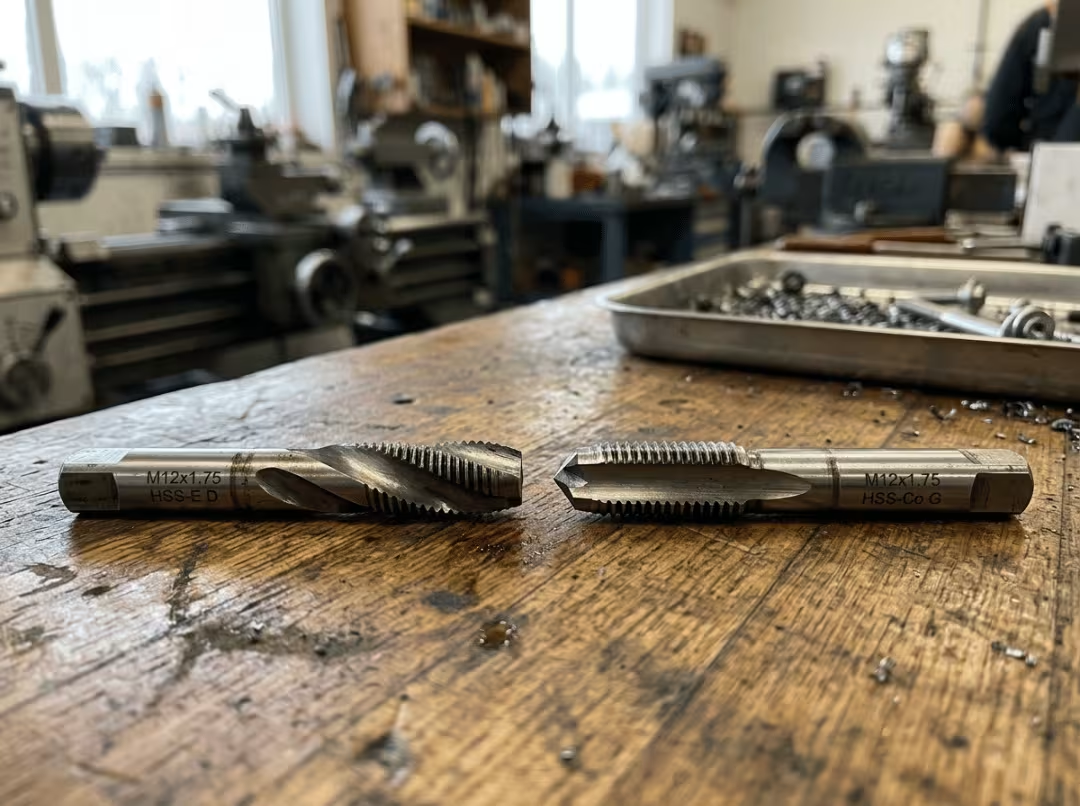
This dimension is about how the tap is driven, not the thread it cuts. Hand taps — taper, plug, and bottoming — suit manual work and one-off jobs. Machine taps are designed for powered, repeatable tapping at controlled speed and torque. The same thread designation can be cut either way; volume and consistency decide which is appropriate.
By Application — Pipe, Extension, Combined Drill-Tap
Some taps solve a specific context problem rather than a general threading need. Pipe taps cut sealed, tapered threads for fittings. Extension taps reach into deep or obstructed holes that a standard tap cannot access. Combined drill-taps make the hole and thread it in a single pass. These are situational tools.
|
Classification dimension |
Options |
What it decides |
|---|---|---|
|
Forming method |
Cutting vs forming |
Chips or no chips; hole size; material fit |
|
Chip flow |
Spiral flute / spiral point / straight flute |
Where chips go; blind vs through hole |
|
Operation type |
Hand vs machine |
Speed, repeatability, volume |
|
Application |
Pipe / extension / combined |
Context-specific threading need |
A real tap is a stack of choices, not a single label. Naming it one-dimensionally tells you one thing about it. Working through all four dimensions is what actually resolves the selection.
Common Thread Tap Types and What Each Does Best
These are the taps most commonly searched by name. Each entry focuses on where the tap earns its place and where it fails — not on restating the definition.

Hand taps — taper, plug, bottoming. These work as a three-tap progression. The taper tap has a long chamfered lead of 8 to 10 threads that starts the cut square and guides the tap into the hole. The plug tap, with a 3-to-5-thread chamfer, handles general-purpose through-hole threading. The bottoming tap has almost no chamfer, which lets it cut threads to the very base of a blind hole. Where it goes wrong: starting a thread with a bottoming tap. With no lead to guide entry, the tap wanders and cross-threads.
Spiral flute taps. Helical flutes lift chips back and out — the defining characteristic that makes this the standard choice for blind holes. Chip evacuation runs in the only direction a blind hole allows. Where it underperforms: a through hole, where a spiral point tap would move faster and clear chips more efficiently.
Spiral point (gun) taps. The angled cutting face pushes chips forward and out the far side of a through hole. That makes it fast and clean for any hole that runs all the way through the part. Where it fails: a blind hole. Chips driven forward pack against the bottom, torque spikes, and the tap breaks.
Forming (roll) taps. These displace material rather than removing it, which means no chips and a cold-worked thread that is stronger than a cut thread in ductile material. The best fit is aluminum, copper, and mild steel. Where it fails: brittle or hard materials that crack rather than flow, and any hole drilled to cutting-tap diameter. Forming taps require a larger starting hole — using the wrong drill size here is a frequent and avoidable mistake.
Pipe taps — NPT/BSPT. These cut tapered threads designed for sealed fittings in hydraulics, gas lines, and pressure systems. The taper is the sealing mechanism, not a side characteristic. The wedging action of matched tapered threads is what holds pressure.
Combined drill-taps. These drill and thread in one pass, eliminating a tool change. Reliable in aluminum, brass, and plastics. Not suited to anything harder — the combined cutting action overloads the tool in medium or hard material.
Knowing these names is only the starting point. Matching any of them to the hole and the workpiece is what the next two sections are for.
Blind Hole vs Through Hole — The First Real Decision
Before material, before coating, before anything else, the hole type sets the chip evacuation direction. Get this wrong, and no other correct choice will save the tap.
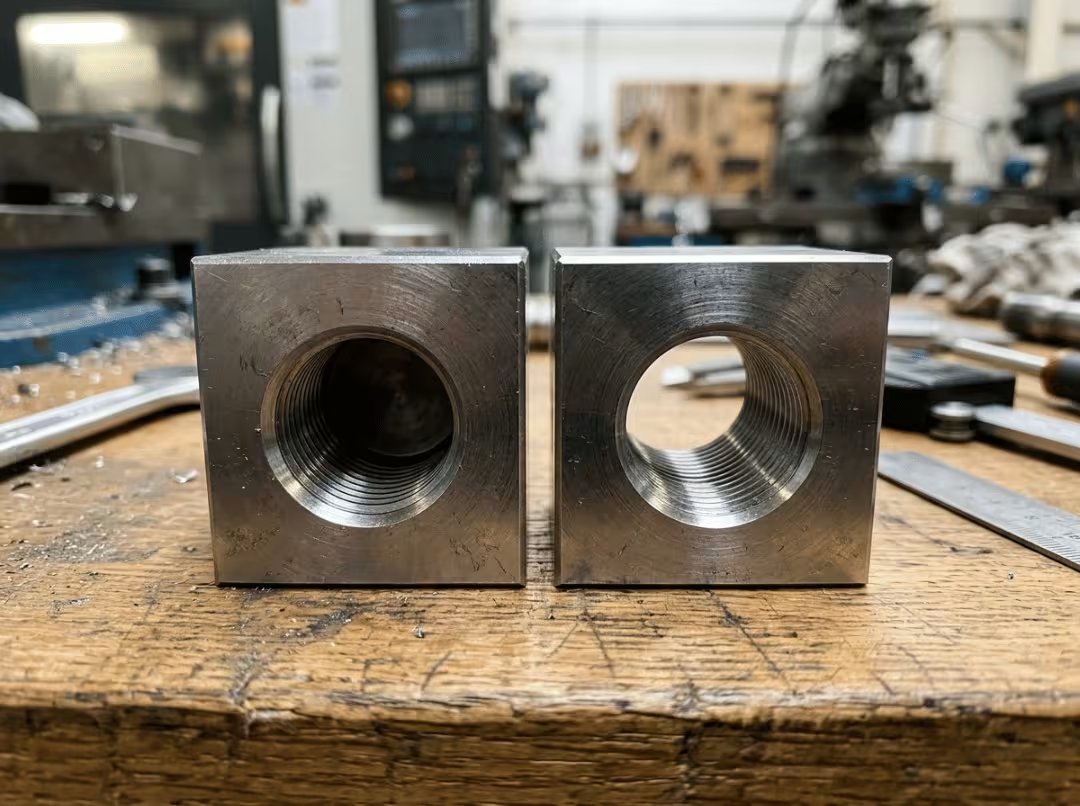
Through holes let chips exit the far side. That means a spiral point tap — pushing chips ahead of itself — is fast, clean, and the natural fit. For manual work, straight-flute taps also function here since the operator controls pace and can clear chips between passes.
Blind holes have a bottom. Chips have nowhere to go except back up through the flutes, so a spiral flute tap is required, not optional. Once the hole is started and the bulk of threading is done, a bottoming tap finishes threads to the base — something a taper or plug tap cannot reach.
Deep blind holes concentrate every failure mode: chips pack, heat accumulates, and the tap breaks. Three things prevent this, none of which can be skipped. Peck tapping — advancing partway and retracting to clear chips before continuing — keeps the flutes from clogging. Adequate lubrication manages heat at the cutting face. Correct spiral geometry does the actual chip lifting. Skip any one of them in a long blind hole and the odds of tap breakage increase sharply.
The rule that holds across most jobs: a through hole calls for a spiral point tap; a blind hole calls for a spiral flute tap. Everything else in the selection sequence builds on that first answer.
How to Choose the Right Thread Tap
Each dimension above feeds into a six-step sequence. Work through them in order on any given part, and each step narrows the field before the next.
1. Start with the Hole Type
Blind or through determines chip flow, which immediately narrows the tap family. Through hole: lean toward spiral point. Blind hole: lean toward spiral flute. This one answer eliminates most of the catalog before material, coating, or thread standard enters the picture.
2. Confirm Chip Evacuation Needs
Refine within the selected family based on hole depth and chip character. A shallow through hole in mild steel is forgiving. A deep blind hole in stainless steel throwing long, stringy chips raises the stakes on evacuation geometry significantly. The longer the hole and the more difficult the chip, the more deliberately the flute choice and peck strategy have to be set.
3. Match the Material
Material sets tap substrate and coating, and it gates the next step. Soft, ductile metals — aluminum, mild steel, copper — open the door to forming taps. Hard, brittle, or high-strength material closes it and pushes toward cutting taps in tougher substrates. A wrong material read here constrains every choice that follows.
4. Decide Cutting vs Forming
If the material is ductile and a chipless, cold-worked thread would be an advantage, a forming tap is the better choice. No chip evacuation to manage, and the thread is stronger. But the drilled hole must be larger than for a cutting tap of the same nominal size. Overlooking that drill-size difference is one of the more common and avoidable failures in this step.
5. Machine vs Hand Operation
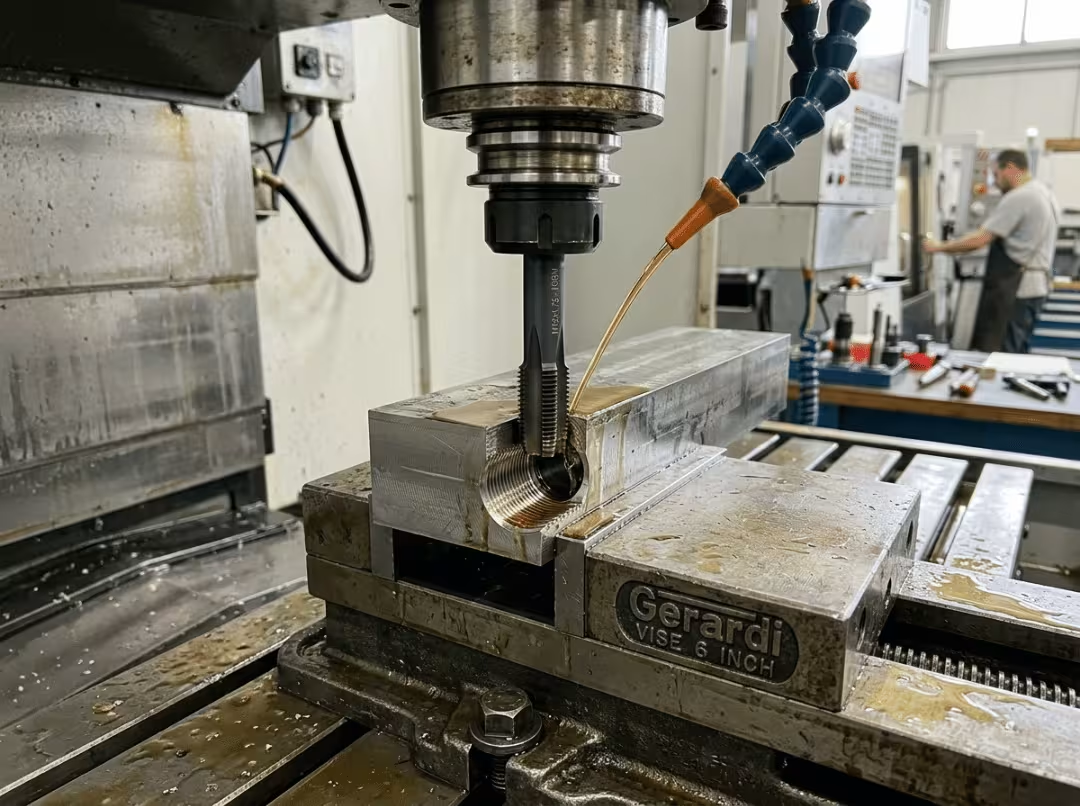
Volume and repeatability make this decision. One-off work, field repairs, and prototype threading suit hand taps, where operator feel matters more than throughput. Production runs and tight tolerance requirements call for machine taps in proper tension-compression or rigid tapping holders, run at a controlled spindle speed. The thread form may be identical — the operation method follows the job.
6. Confirm Thread Standard, Pitch, and Depth
Lock in the specifics: thread designation (M, UNC/UNF, NPT), pitch, and required depth of thread engagement. This is where tap size and tolerance class get matched to the print. By this step, the earlier answers have already narrowed you to a tap family — now you are confirming the exact tool within it.
These decisions interact. A deep blind hole in stainless at production volume demands a completely different tap than a shallow through hole in aluminum cut once. Reading all six steps together, rather than any one in isolation, is where the actual skill lies. For parts where resolving those trade-offs before cutting is worth doing systematically, Essengold’s CNC machining services include a DFM review that works through this sequence against your specific geometry.
Tap Materials and Coatings
Tap material and coating determine how fast you can tap, how long the edge survives, and whether a hard workpiece breaks the tap outright. Read them as decisions tied to the workpiece, not as spec-sheet categories.
HSS is tough, forgiving, and economical. It absorbs misalignment and shock without shattering — the right pick for softer materials, low-volume runs, and hand tapping. Edge life is shorter than carbide in abrasive conditions, but when HSS fails, it dulls rather than snaps.
HSS-Co (cobalt) adds heat resistance without sacrificing toughness. Use it for stainless steel, cast iron, and tougher alloys where plain HSS would overheat and lose its edge mid-run. The cost premium is earned back in materials that generate real cutting heat.
Solid carbide is the hardest and most wear-resistant option, and also the most brittle. It belongs in hard or abrasive material, in a rigid and well-aligned powered setup. Shock loads or even moderate misalignment can snap it. Solid carbide is a production tool for controlled conditions — not a general-purpose upgrade.
Powdered metal taps sit between HSS-Co and solid carbide, balancing hardness with enough toughness to survive demanding production threading in high-tensile alloys.
Coatings manage friction and heat — they do not rescue a tap that is wrong for the application. TiN gives general-purpose life extension. TiCN adds hardness for abrasive workpieces. TiAlN handles heat, which makes it the right call for stainless, titanium, and dry tapping. Substrate, geometry, and hole size always come first; the coating optimizes a decision that is already correct.
|
Tap material |
Best-fit workpiece |
Trade-off |
|---|---|---|
|
HSS |
Aluminum, mild steel, plastics |
Wears faster in hard or abrasive material |
|
HSS-Co |
Stainless, cast iron, tougher alloys |
Higher cost than plain HSS |
|
Solid carbide |
Hardened steel, abrasive material |
Brittle; requires rigid, aligned setup |
|
Powdered metal |
High-tensile alloys, production runs |
Higher cost; more application-specific |
Common Tapping Mistakes That Break Taps and Ruin Threads
Most broken taps and bad threads trace back to a setup decision made before the tap touched the hole. These are the failures that show up most consistently.
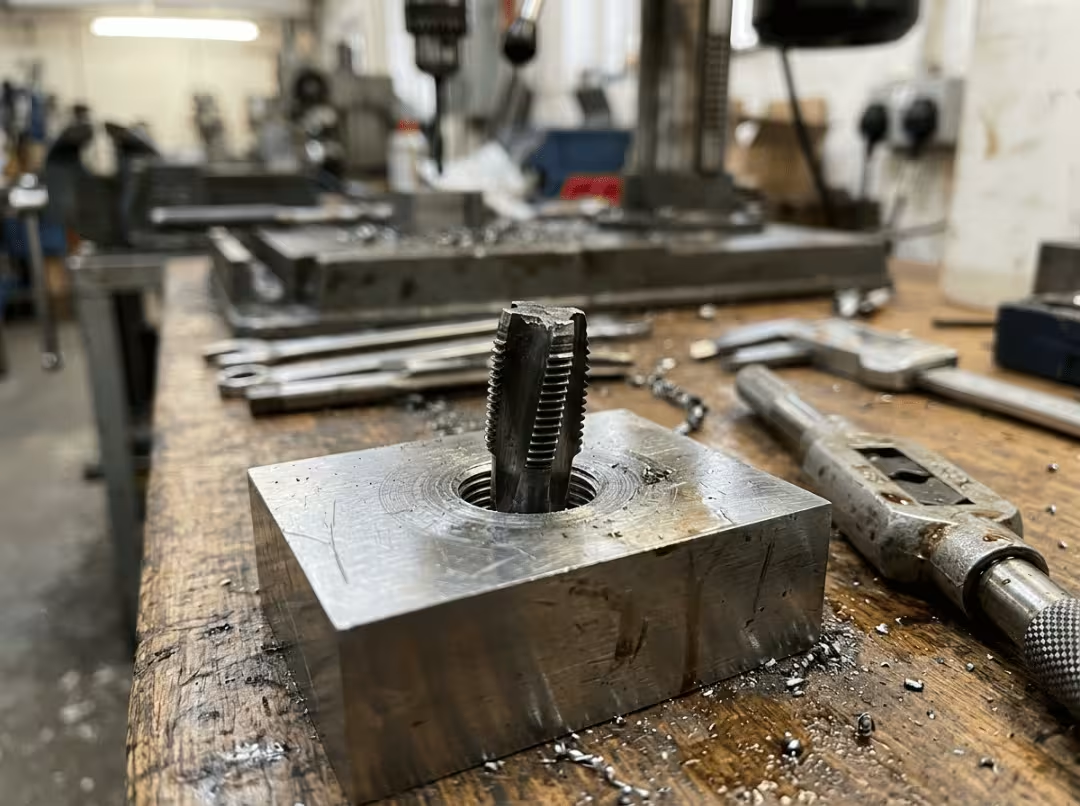
Wrong drill size. A hole drilled too small leaves more material than the tap can handle, overloads it, and breaks it. Too large, and the thread comes out shallow with poor engagement. The fix is matching the drill to the tap size, pitch, and forming method — and remembering that forming taps require a larger hole than cutting taps of the same nominal size.
Wrong tap for the hole type. A spiral point tap in a blind hole drives chips into a dead end, packs them at the bottom, and snaps. A spiral flute tap in a through hole works but moves slower than necessary. The fix is the rule from earlier: spiral point for through holes, spiral flute for blind holes.
Inadequate lubrication. Running dry builds heat and friction, welds material to the flute faces, and ruins thread surface finish. Soft gummy metals like aluminum are especially prone to welding onto the tap. The fix is matching cutting fluid to the workpiece material and treating lubrication as a requirement, not an afterthought.
Wrong cutting speed. Too fast in hard material burns and dulls the tap. Too slow — or hesitating mid-cut — can stall and snap it, or tear soft threads. The fix is setting speed by material and pitch, then confirming on a test run before committing to a batch.
Tap not square to the surface. Starting at an angle cross-threads the hole and concentrates load on one side of the flutes. The tap breaks or the threads are unusable. The fix is a tapping guide, a center-drilled starting point, or rigid tapping in a machine setup that holds perpendicularity mechanically.
No chip clearing in deep holes. Chips that accumulate pack the flutes, torque spikes, and the tap breaks. The fix is peck tapping — advancing and retracting in increments — and periodic reversal to keep the flutes clear.
These are setup decisions, not mechanical failures. Every one of them is made before the tap runs, which means every one of them can be caught before anything breaks.
Thread Tap Sizing and Tolerance Reference
Sizing is where the drill and the tap have to agree. The drilled hole diameter sets how much material the tap removes, and the tolerance class controls how tightly the finished thread fits the fastener. Use the earlier sections to drive the decision, then use this table to confirm the numbers.
|
Tap size |
Pitch (mm) |
Tap drill (mm) |
|---|---|---|
|
M3 × 0.5 |
0.5 |
2.5 |
|
M4 × 0.7 |
0.7 |
3.3 |
|
M5 × 0.8 |
0.8 |
4.2 |
|
M6 × 1.0 |
1.0 |
5.0 |
|
M8 × 1.25 |
1.25 |
6.8 |
|
M10 × 1.5 |
1.5 |
8.5 |
|
M12 × 1.75 |
1.75 |
10.2 |
|
M16 × 2.0 |
2.0 |
14.0 |
|
M20 × 2.5 |
2.5 |
17.5 |
Tap tolerance codes map to internal thread classes and control the fit clearance. A tighter class is not always better — it is a fit decision matched to the assembly requirement.
|
Tap tolerance code |
Internal thread class |
|---|---|
|
H1 |
4H, 5H |
|
H2 |
5G, 6H |
|
H3 |
6G, 7H |
FAQ
What is the difference between a taper, plug, and bottoming tap?
Chamfer length. The taper tap has an 8-to-10-thread lead that starts the cut square and guides the tap in. The plug tap has a 3-to-5-thread chamfer for general-purpose work. The bottoming tap has almost no chamfer, so it threads to the base of a blind hole — but it cannot start a thread on its own.
Which tap is best for blind holes?
A spiral flute tap. Its helical flutes pull chips back and out — the only viable direction when the hole has a bottom. A bottoming tap then finishes the threads down to the base once the hole is started with a taper or plug tap.
Which tap is best for through holes?
A spiral point (gun) tap. It pushes chips forward, ahead of the cut and out the far side, which makes it fast and clean in any hole that runs all the way through.
What is the difference between a cutting tap and a forming tap?
A cutting tap removes material and produces chips. A forming tap displaces material without cutting, making no chips and cold-working a stronger thread in the process. Forming taps also require a larger drilled hole than a cutting tap of the same nominal size.
When should I use a carbide tap instead of HSS?
Solid carbide belongs in hard or abrasive material in a rigid, well-aligned, powered setup. HSS and HSS-Co handle most softer materials and tolerate misalignment and shock far better. Carbide snaps under conditions that HSS would simply dull through.
Why do taps break?
Wrong drill size, wrong tap for the hole type, inadequate lubrication, or chip packing in a deep hole — not tap quality. Almost every break is a setup decision made before the tap ran.
What drill size do I need before tapping?
Match it to the tap size, pitch, and forming method using a tap drill chart. Forming taps need a larger hole than cutting taps of the same nominal size — confirm which tap type you are running before drilling.
Choosing Taps, Not Memorizing Them
The right thread tap is a decision, not a name to look up. It follows hole type first, then chip flow, then material, then the cutting-or-forming question, then operation method, and finally thread standard and size. Work through that sequence on any hole and the choices narrow to a short, defensible list.
The four-dimension framework places you in the right tap family. The six-step sequence identifies the specific tap within it that will hold up. And the common mistakes — wrong drill size, wrong tap for the hole, inadequate lubrication, chip packing — are all setup decisions, which means all of them are preventable before the spindle turns.
For teams that would rather hand threaded-part production to a shop that resolves these questions daily, Essengold machines internal threads across metals and engineering plastics through milling, turning, and millturn work. Submit your design files for a DFM review and you will get a direct recommendation on hole sizing, tap selection, and thread specification — the sequence above, applied to your part before anything gets cut.